The Schedule Planner is where an employee’s shift start and finish times can be entered. This can be used to schedule employees to start and finish at different times each time they work, or you can build a rota into the system that repeats after a set time period i.e. a shift pattern. The Scheduled start and finish time is what InfoTime uses to generate the employee warnings for late arrival and late departure.
To access the Schedule Planner click on Timesheet – Schedule Planner (Fig 1).
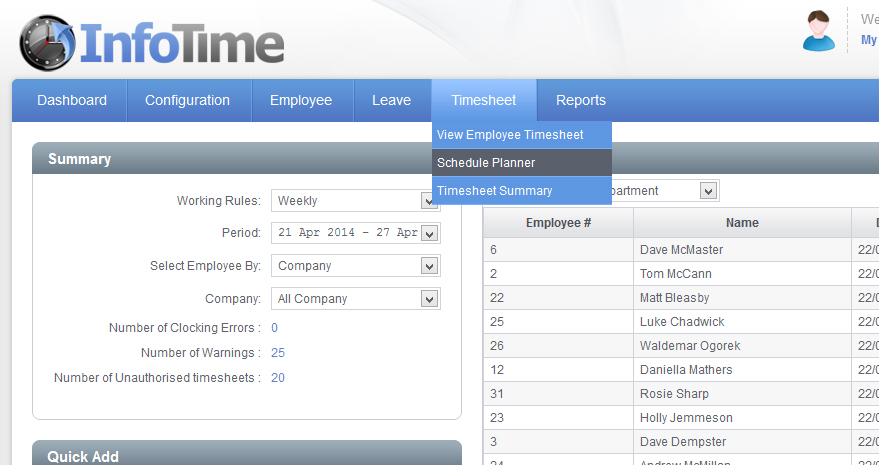
Fig 1
The Schedule Planner screen will load. Initially only show the filter criteria (Fig 2).
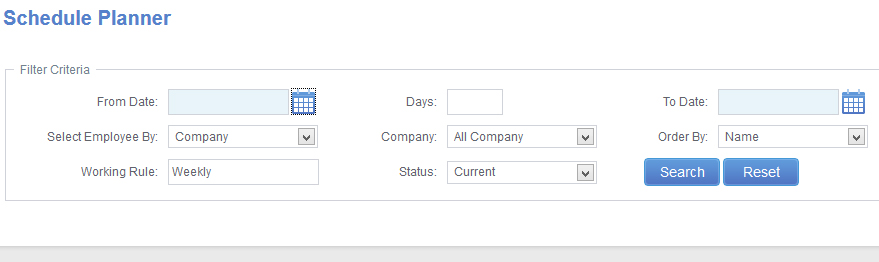
Fig 2
The first thing you need to do is set the date range you wish to see. You can set the date range to be as long as you require i.e. if you are entering a roster for this week just select this week, if you are entering a pattern that repeats every three weeks set the date range to show the three weeks. It is advisable to set the From Date as the first day of the pattern and then the To Date to the last day of the pattern.
You can also set the filter to only show employees in a particular Department, Company, etc. Once you have set the criteria click the Search button.
The screen will refresh to look like Fig 3.
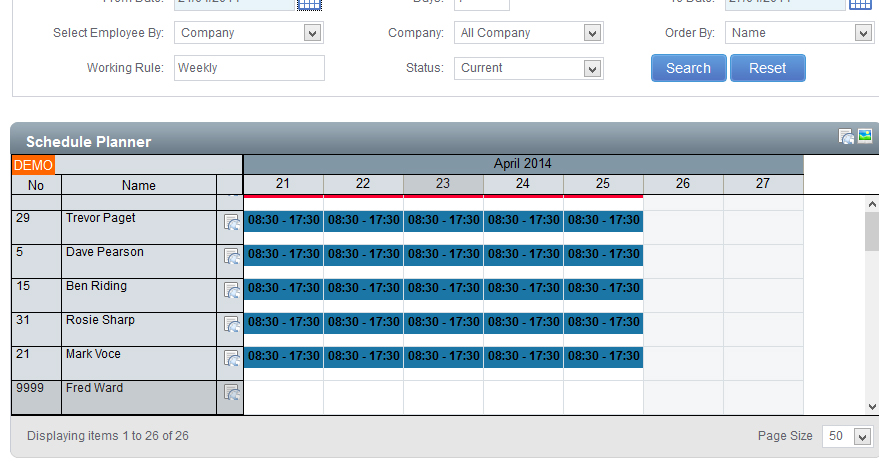
Fig 3
In the Schedule Planner locate the employee who’s pattern you wish to save. Left click on the white space underneath the first applied shift of the pattern, the box will change to blue. With the left mouse button held down drag the mouse point across all of the days in the pattern, all of the days will highlight in blue (Fig 4).
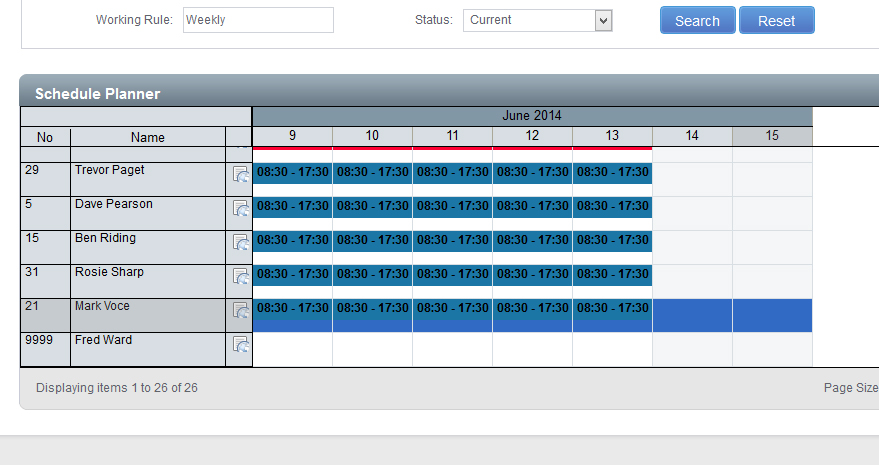
Fig 4
Right click on the blue area of any of the days and a menu will load (Fig 5).
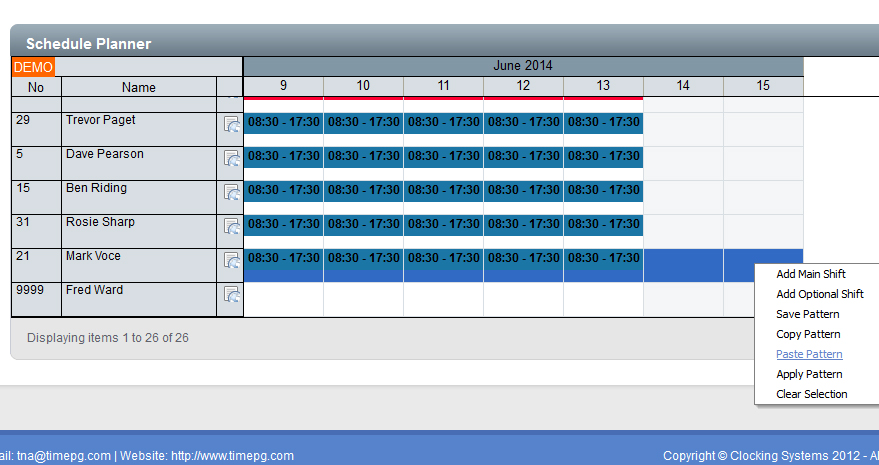
Fig 5
From the list of options select Save Pattern. You will be asked to enter a name for this Saved Pattern (Fig 6).

Fig 6
Enter a name for this pattern than means something to you (i.e. the working hours) and click Save.