Please note, the Mobile Phone Clocking Module is not included as standard with the InfoTime software. If you wish to have your employees clock using their mobile phone then you may need to upgrade your licence. If you are unsure whether you have already purchased this module please contact our sales team on 0113 2587856.
If purchased the Mobile Clocking module allows for employees to clock in and out on a web page via a smartphone. When clocking via a smartphone the employee’s location will be captured along with the time and date of the clocking. The location of the clocking can be viewed from the software, allowing managers to monitor mobile workers more effectively.
To effectively use the Mobile Clocking module InfoTime needs to be installed on a web server that is accessible via the internet, you should consult with your IT department to make sure this is possible on your server.
You will need to firstly setup the employee to clock in using mobile clocking by giving them their own username and password.
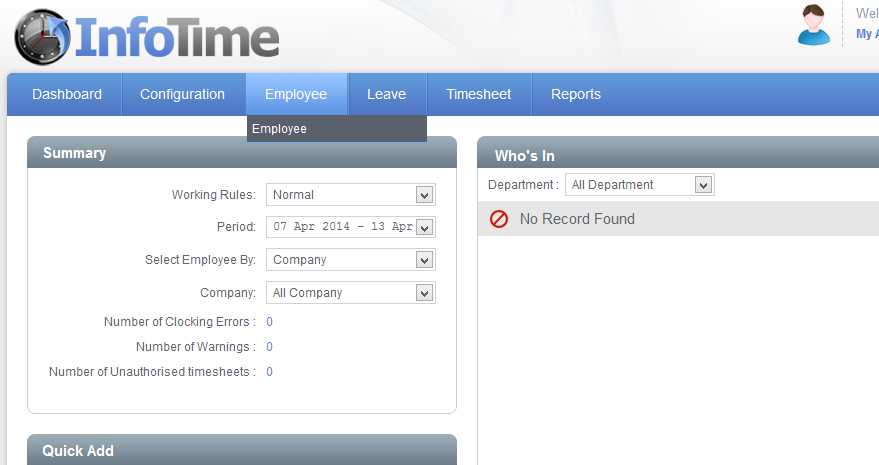
To do that go to the list of employee’s by hovering over Employee then click Employee (Fig A)
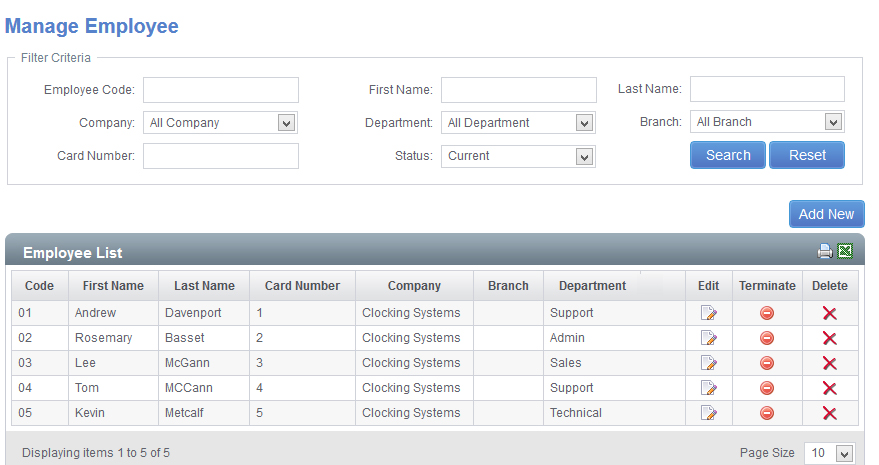
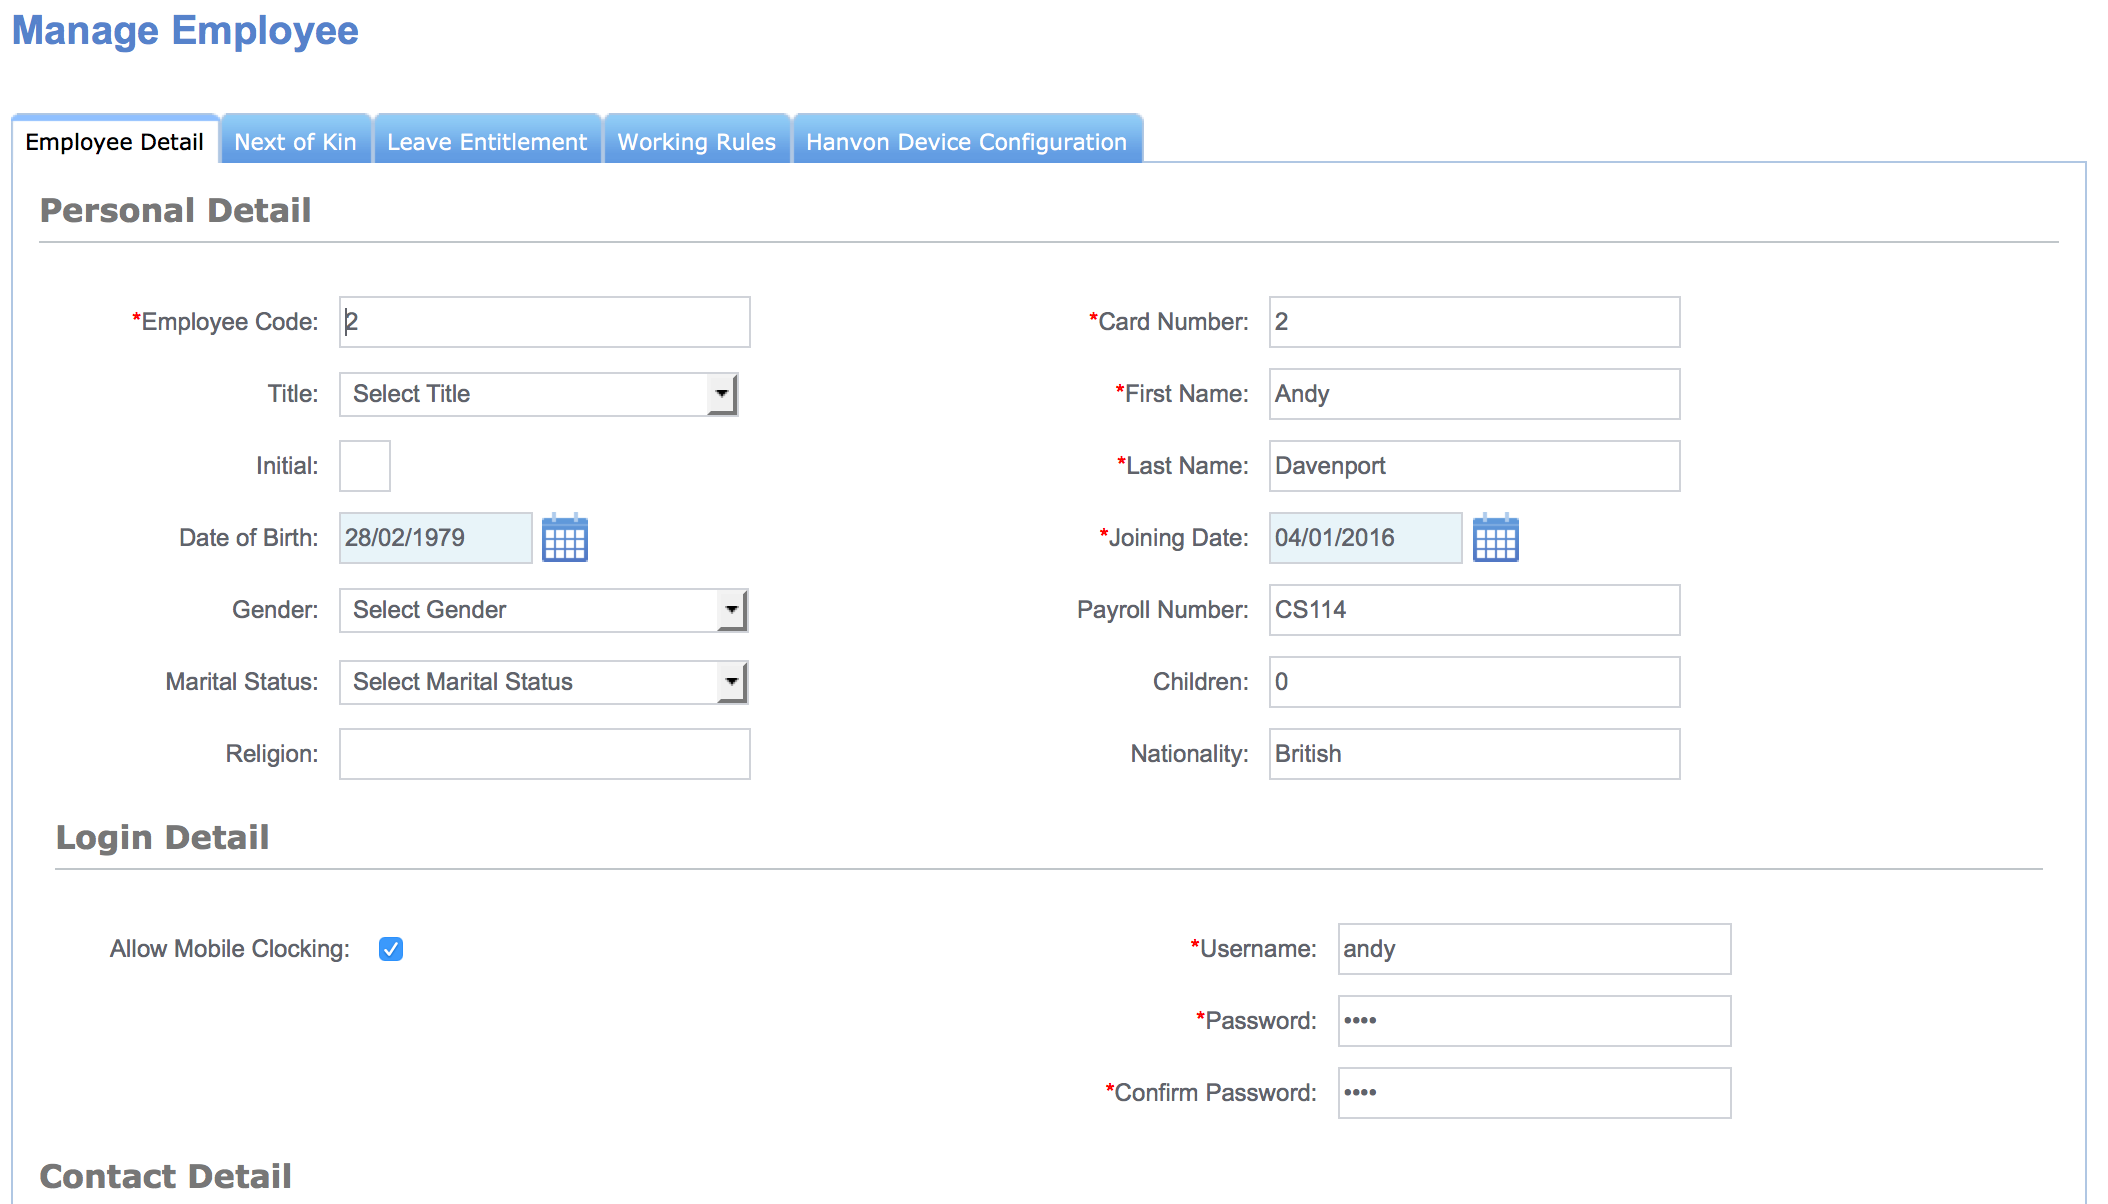
Click Edit next to the employee you want to setup to be able to mobile clock, and then scroll down to tick ‘Allow Mobile Clocking’ You can then enter a custom username and password for this employee (As Fig B)
The employee is now setup to mobile clock.
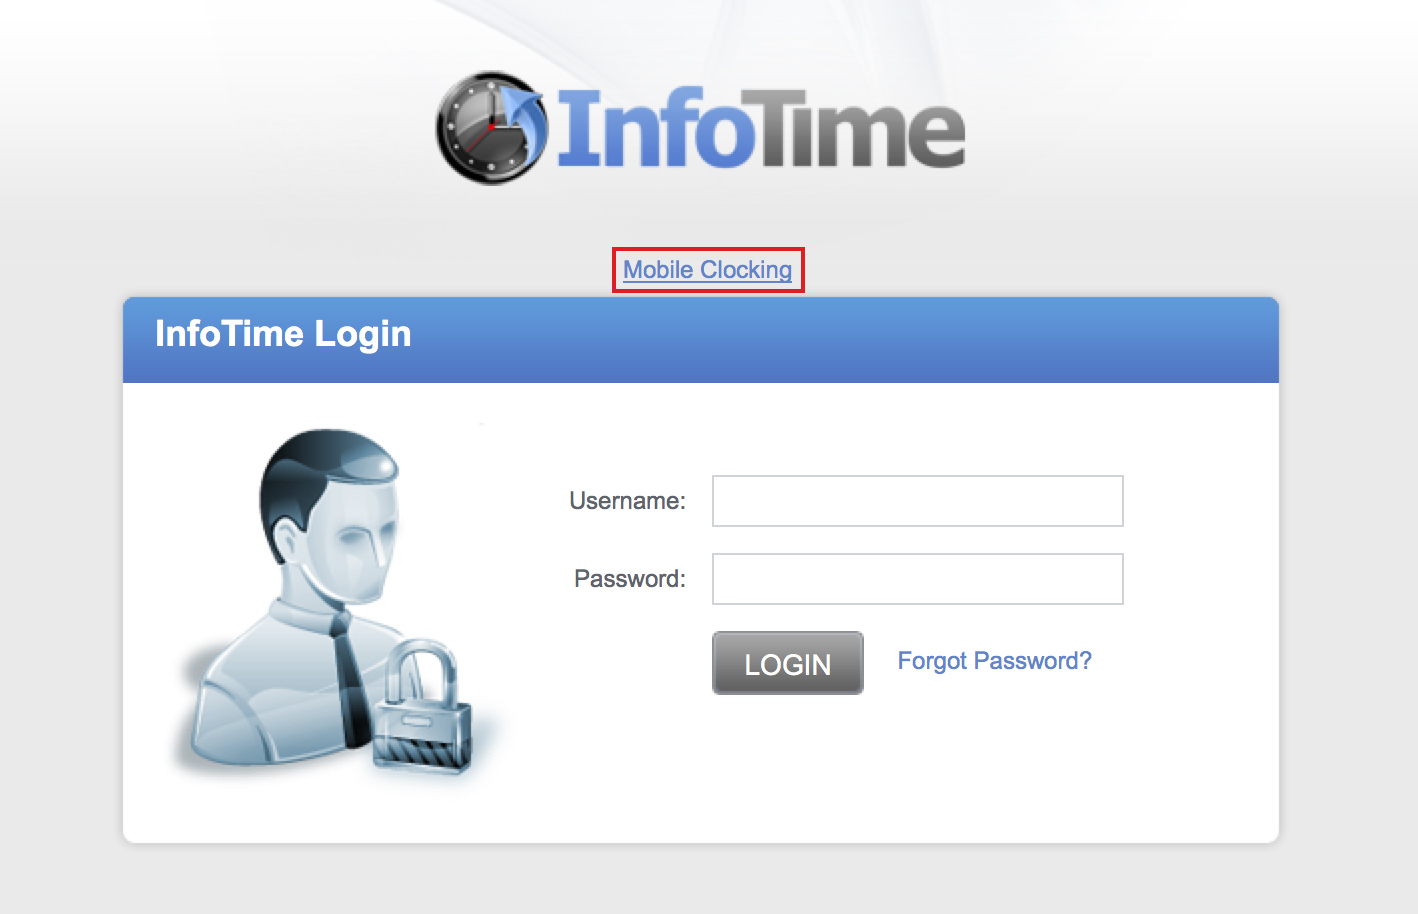
When mobile clocking is enabled a link will appear on the InfoTime login screen linking to the Mobile Clocking page (Fig 1).
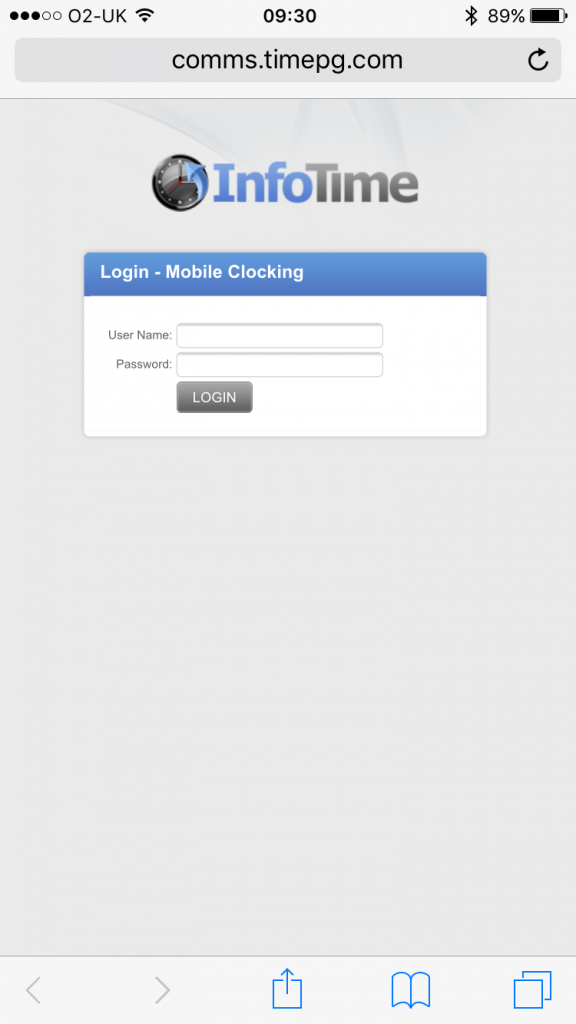
Clicking this link will take the employee to the Mobile Clocking login page, this can also be accessed at http://InfoTimeSoftwareAddress/EmployeeLogin.aspx where InfoTimeSoftwareAddress is replaced by the address you normally access the InfoTime software.
Once at this location the Employee Clocking in screen will load (Fig 2).
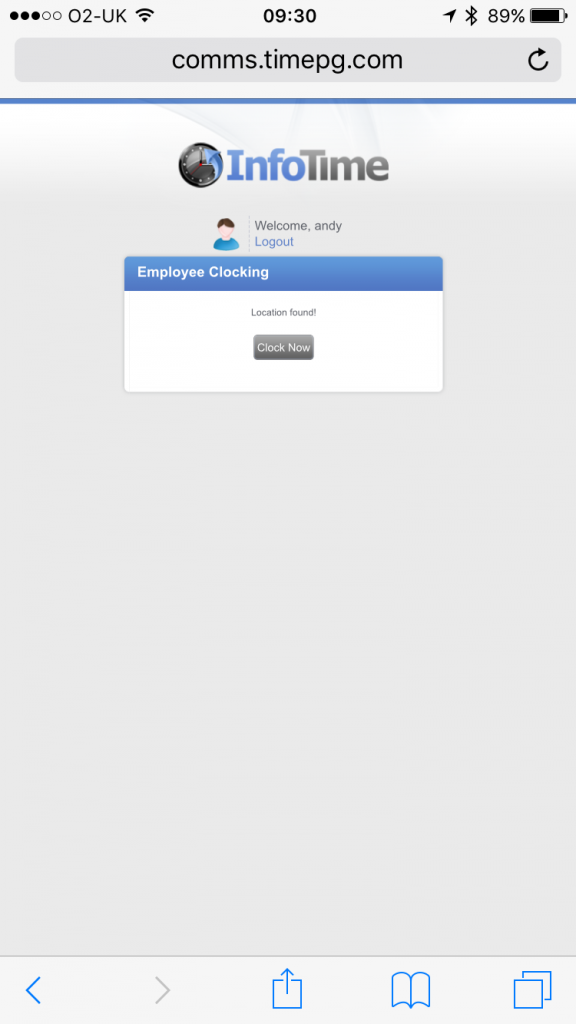
At this screen the employee can login using their login and password. Once they’ve logged in the Clocking screen will load (Fig 3).
To clock the employee needs to click the Clock Now button.
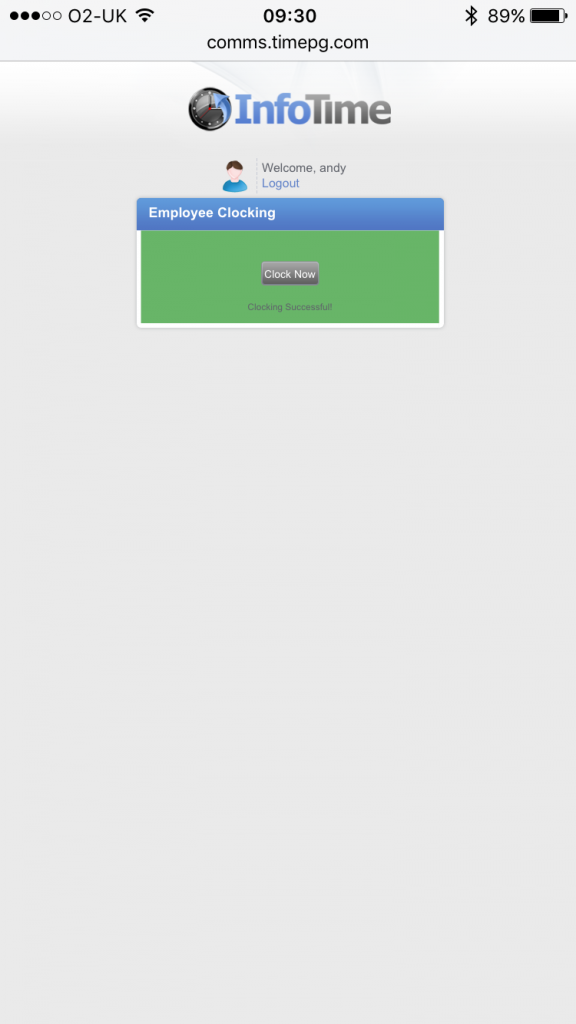
Once a clocking is successfully made the background of the clocking screen will change to green to show the clocking registered and Clocking Successful will be displayed below the Clock Now button.
View Employee Location
It’s possible to view employee locations either globally or individually. In the Global view you will be able to see the last clocking location for an employee who is currently clocked in. In the individual view you will be able to view the location of any clocking.
Viewing the location of all Employees
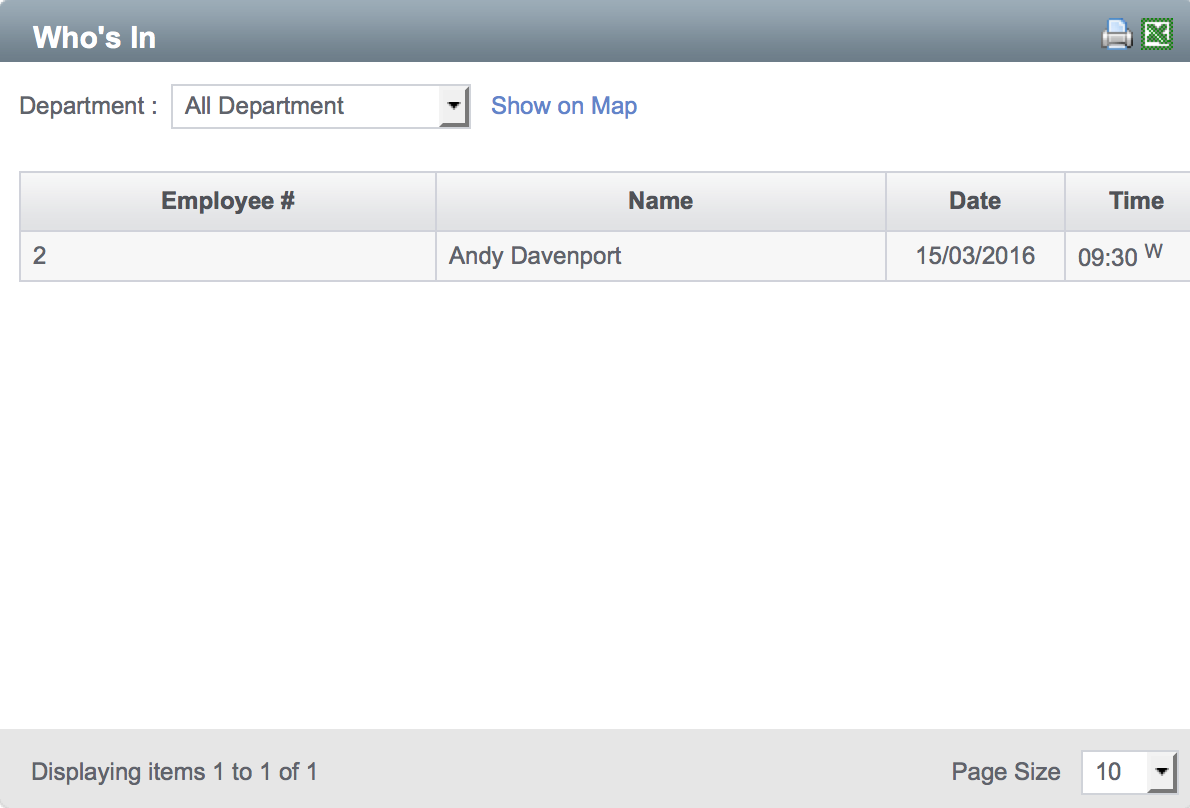
Open the Dashboard screen of the InfoTime software, in the Who’s In section on the right hand side a list of all the employees who are currently clocked in will be shown. At the top of this list is an option for Show on Map (Fig 5).
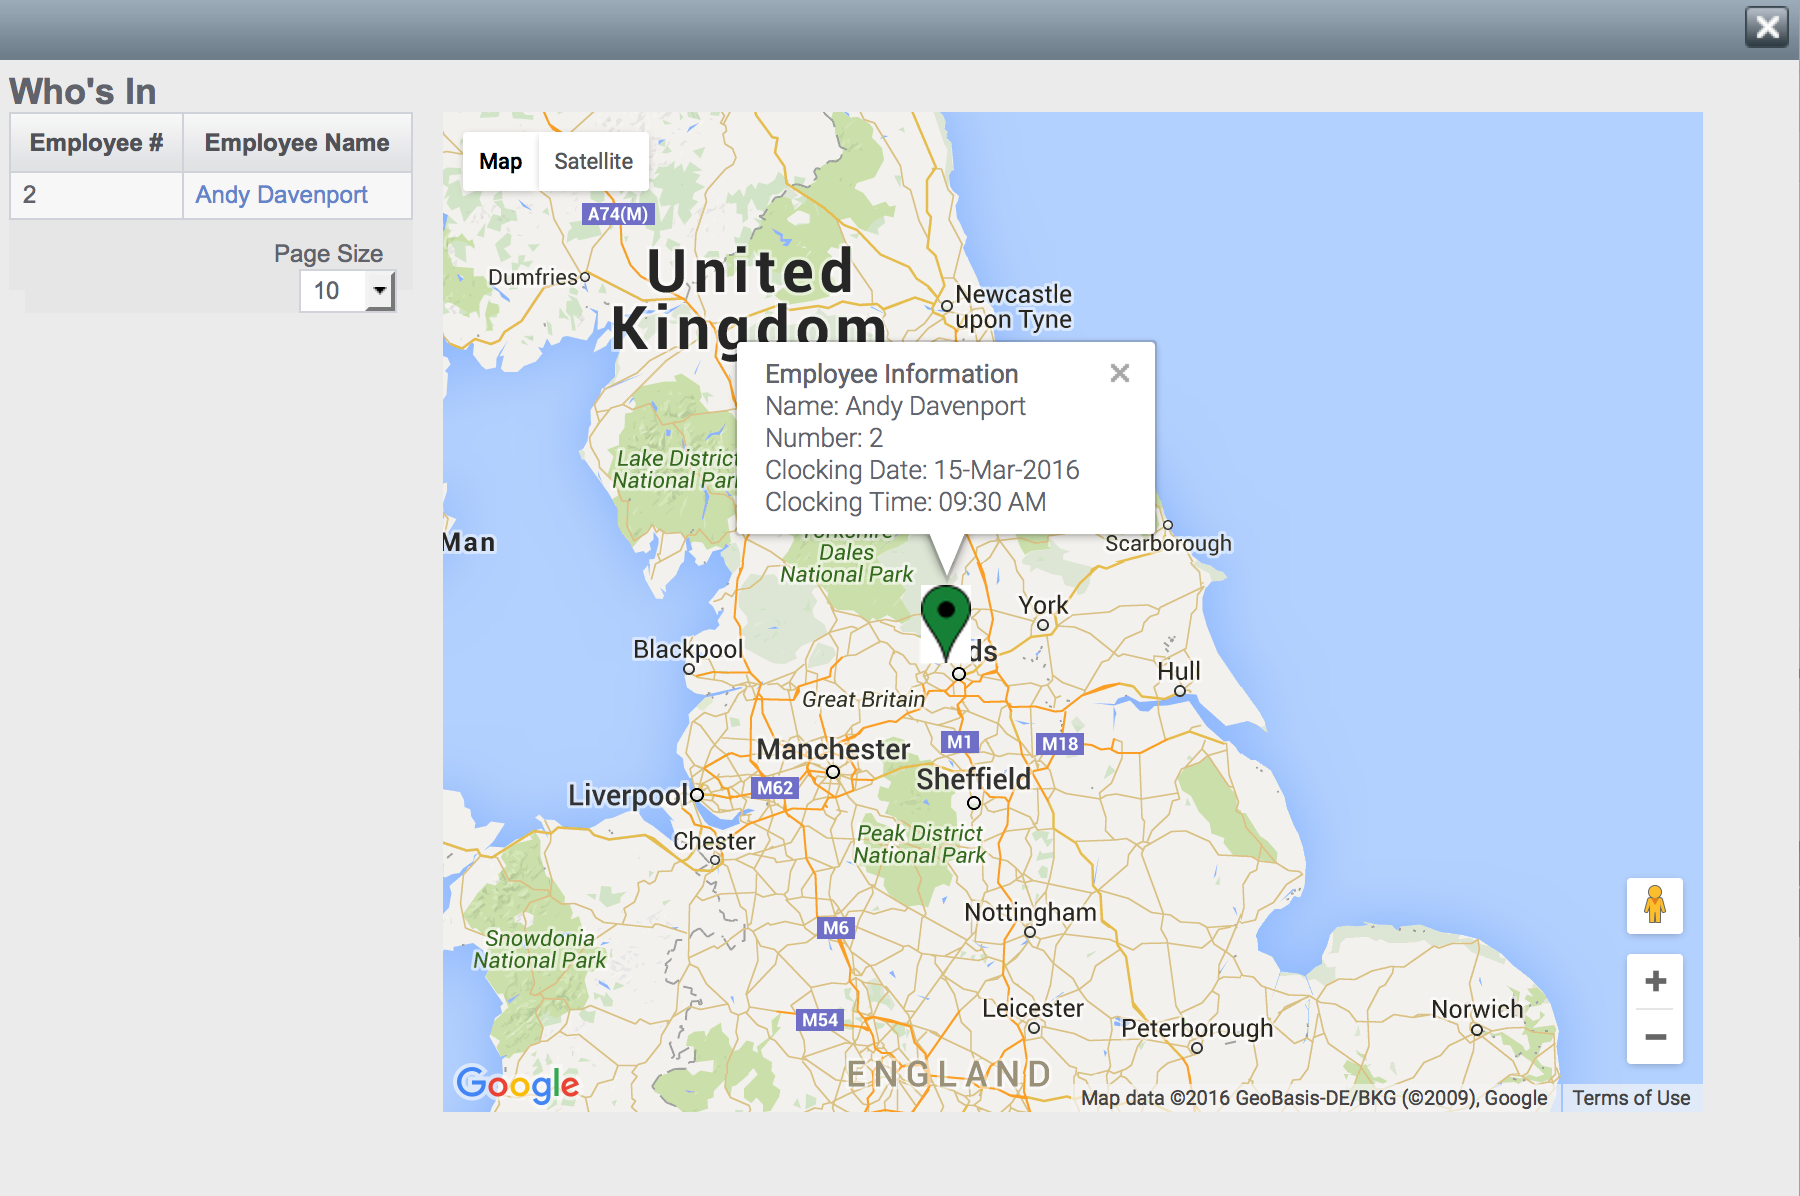
When Show on Map is clicked a new screen will load showing a Google map of the UK and on the left hand side a list of the employee (Fig 6). Clicking on an employee’s name from the list will centre the map on that employee’s location and display a box showing the time and date of the clocking.
You can use the plus and minus buttons at the bottom right to zoom in the clocking location, or use the orange person icon to load Google Streetview.
Viewing Individual Employee locations
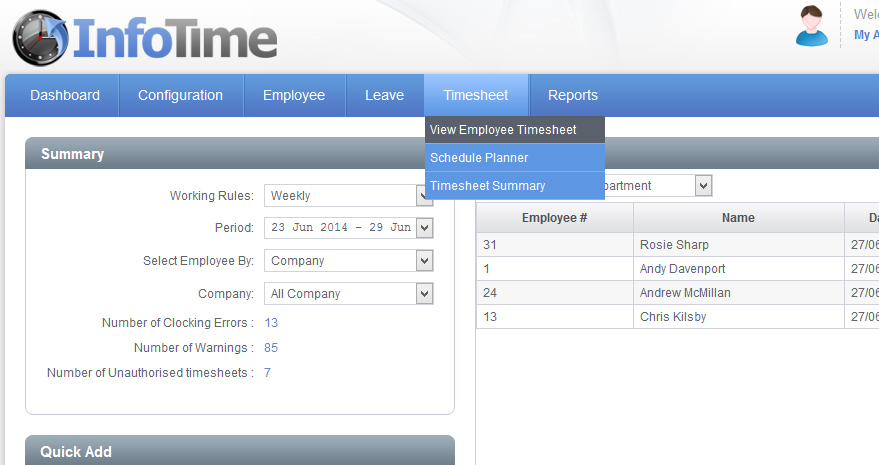
Go to the Employee Timesheet by clicking on Timesheet – View Employee Timesheet (Fig 7).
In the Employee Timesheet select the relevant Working Rule and Pay Period (you can also filter for the relevant employee) and then click Search.
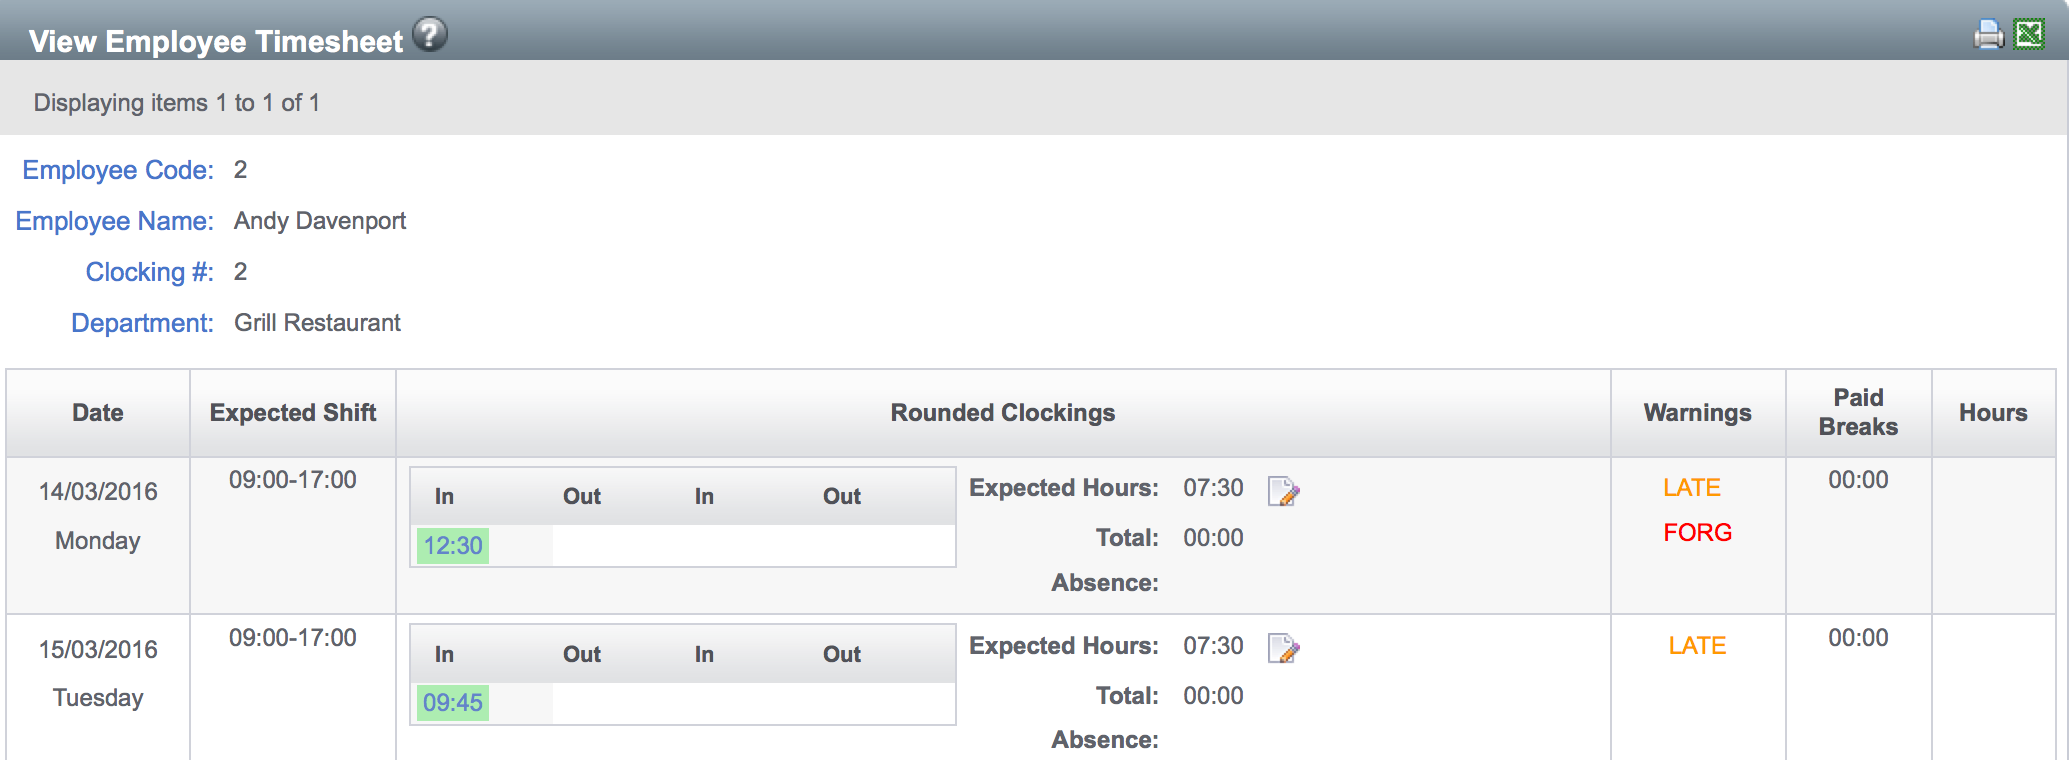
The Employee Timesheet will load and any clockings with a location will be highlighted in blue (Fig 8).
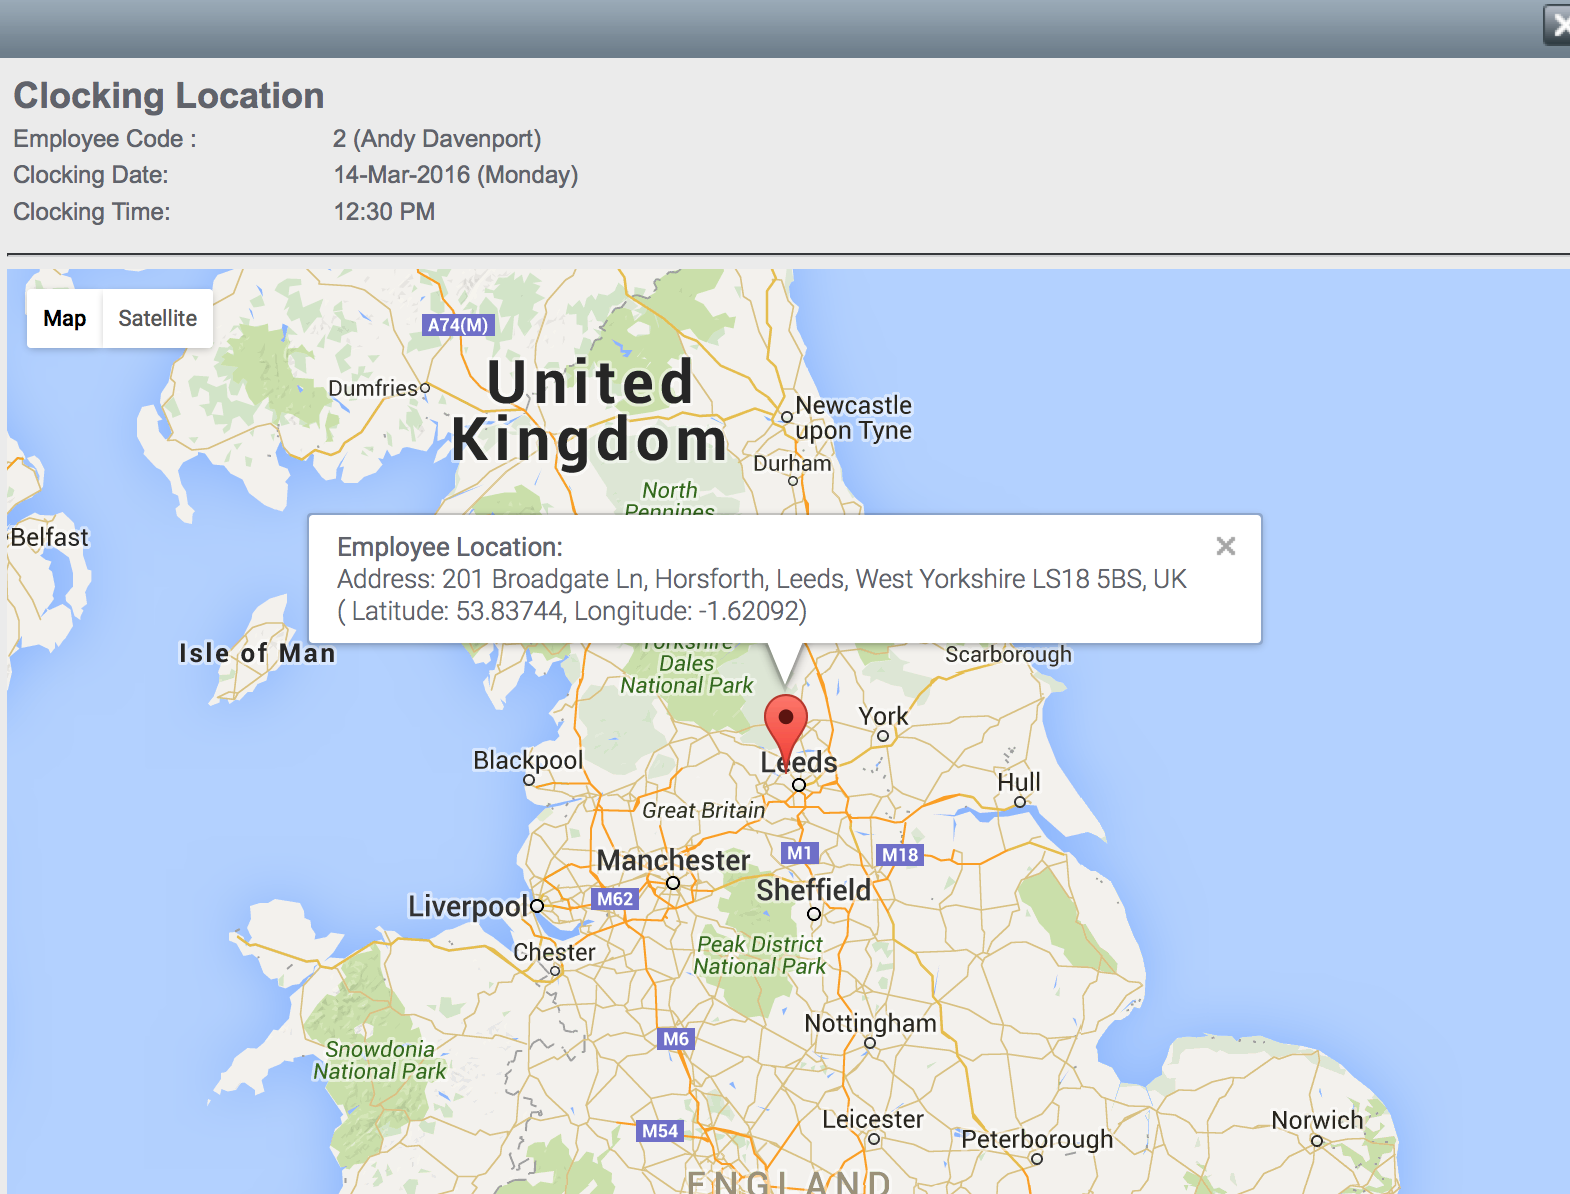
Clicking on a blue clocking will load a Google Map showing the clocking location recorded when that clocking was made (Fig 9).
Note: manually adjusted clockings will still show the employee’s location when the original clocking was made.
Setting up Employee Logins for Mobile Clocking
Any employee’s who will be clocking in and out via a mobile phone will need a username and password creating for them. Logins are stored in the employee’s Employee File. Click on Employee – Employee (Fig 10).
A list of all employees will be loaded (Fig 11). Find the employee and click the Edit button.
The employee’s information will be loaded, on the Employee Details tab locate the section marked Login Details (Fig12).


