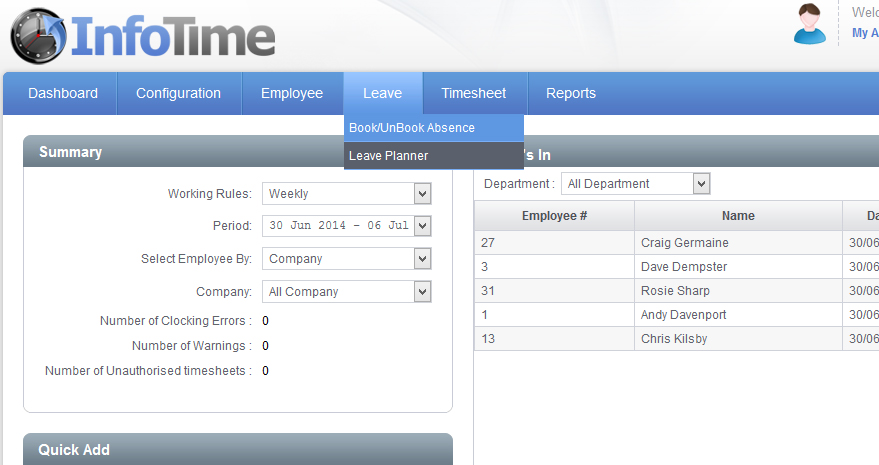
To access the Leave Planner Select Leave – Leave Planner (Fig 1).
The Leave Planner screen will load (Fig 2).
Using the calendar icons set the From Date and To Date to the date range you wish to see leave over. You can filter the screen to only show a specific Department or Company using the Select Employee By section.
Once you these are set click Search.
The screen will refresh to show the Leave Planner for the selected period.
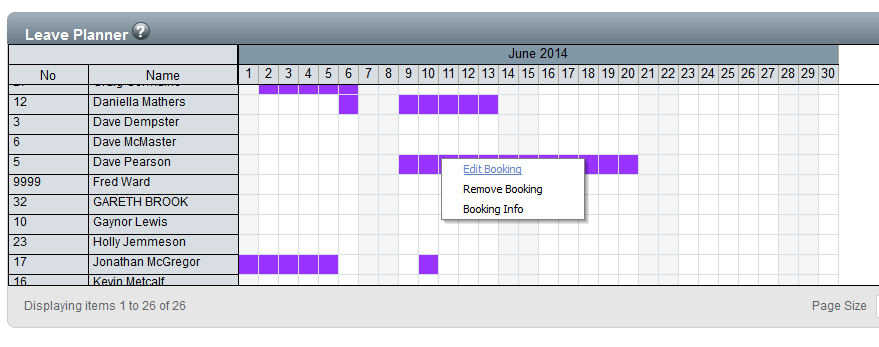
On the Scheduled Planner screen locate the employee who has cancelled some leave. Once you have located the employee, locate the booking to be removed. Right click on the booking and a menu will load (Fig 3).
From the menu that loads select Remove Booking.
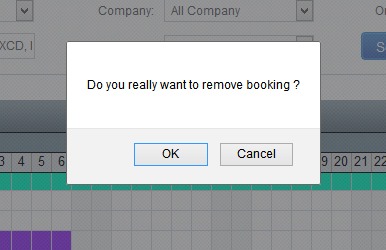
A confirmation message will show on screen asking ‘Do you really want to remove the booking?’ (Fig 4).
Click Ok to remove the booking from the software.


